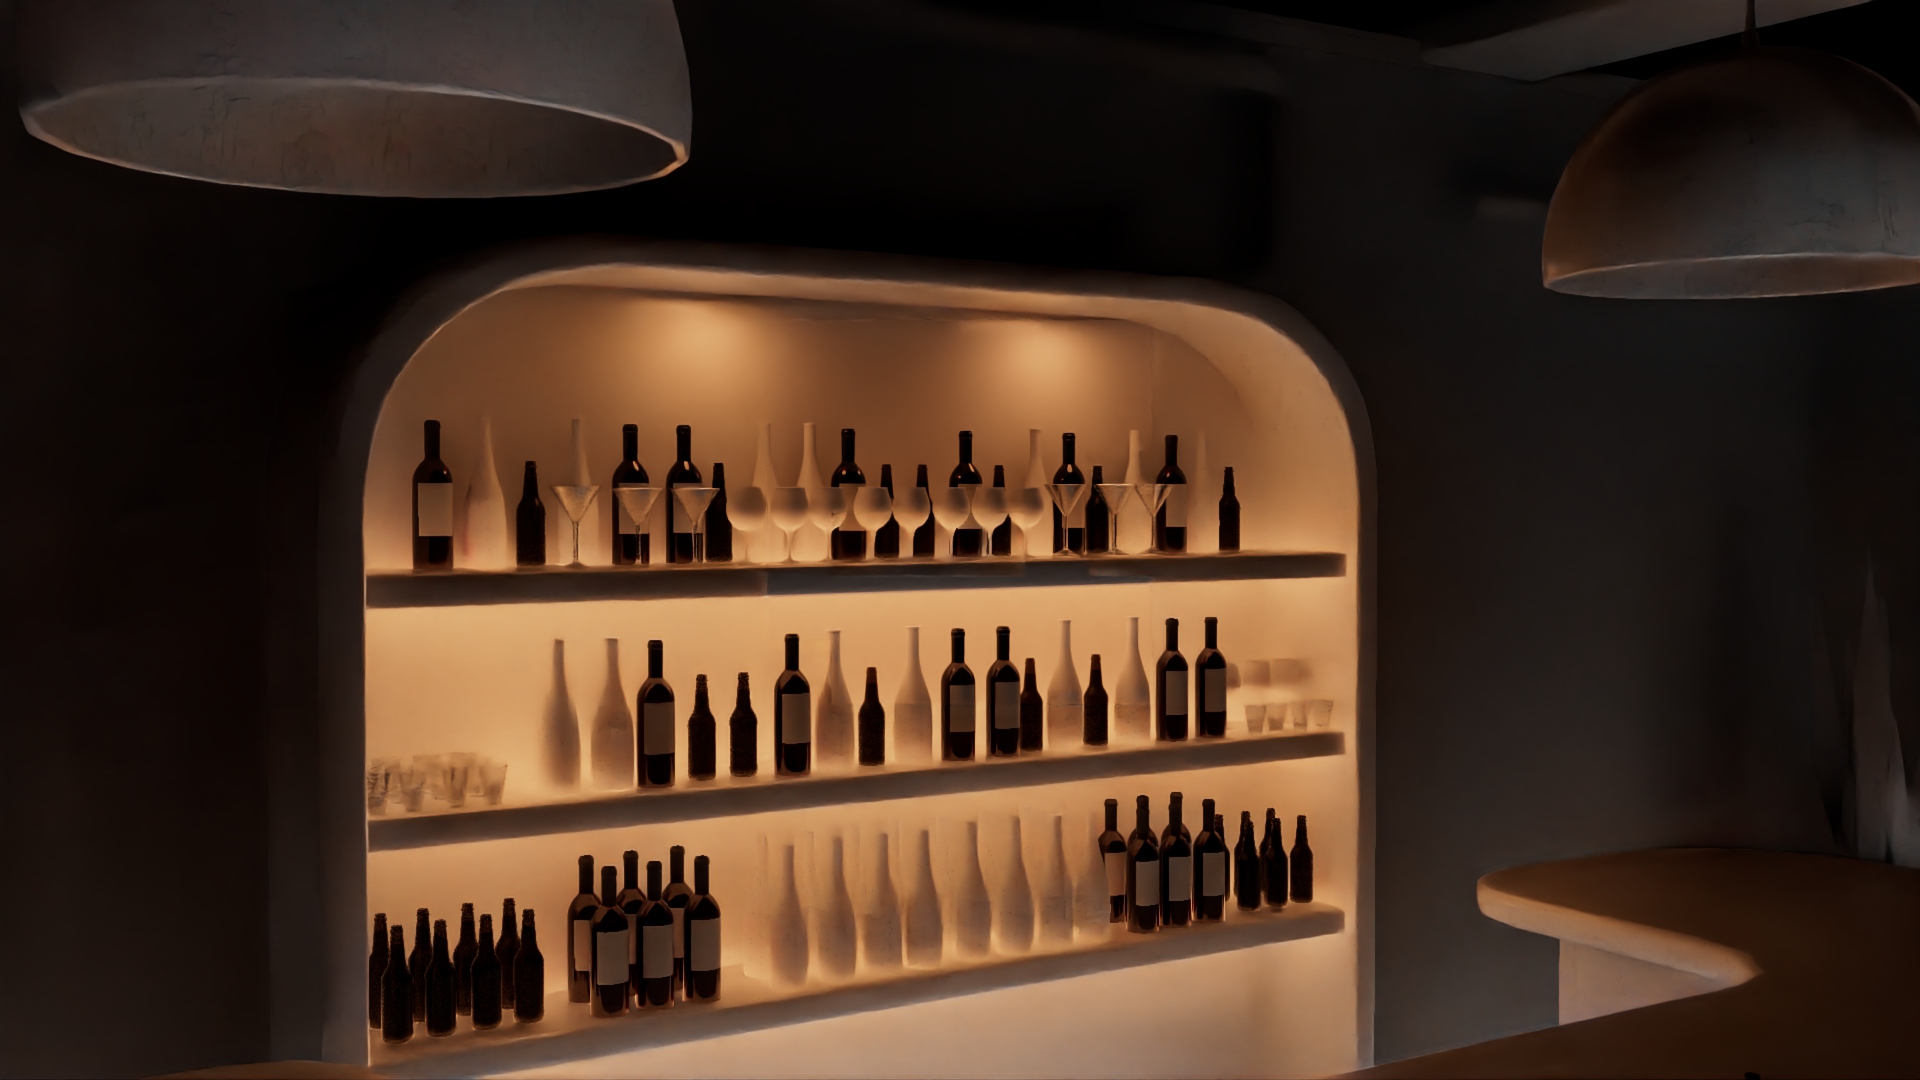
Speed Dating is a short film created by our team for a student project in SCAD’s Collaboration Class (ANIM 395) in Spring 2023. I worked on the models, set dressing and lighting for this project. I also spent time on the rigs, cloth sim and bifrost. All sounds were sourced and utilized with the creative commons licence. This work belongs to the different artists that worked on the project together.
Project Sylvanas
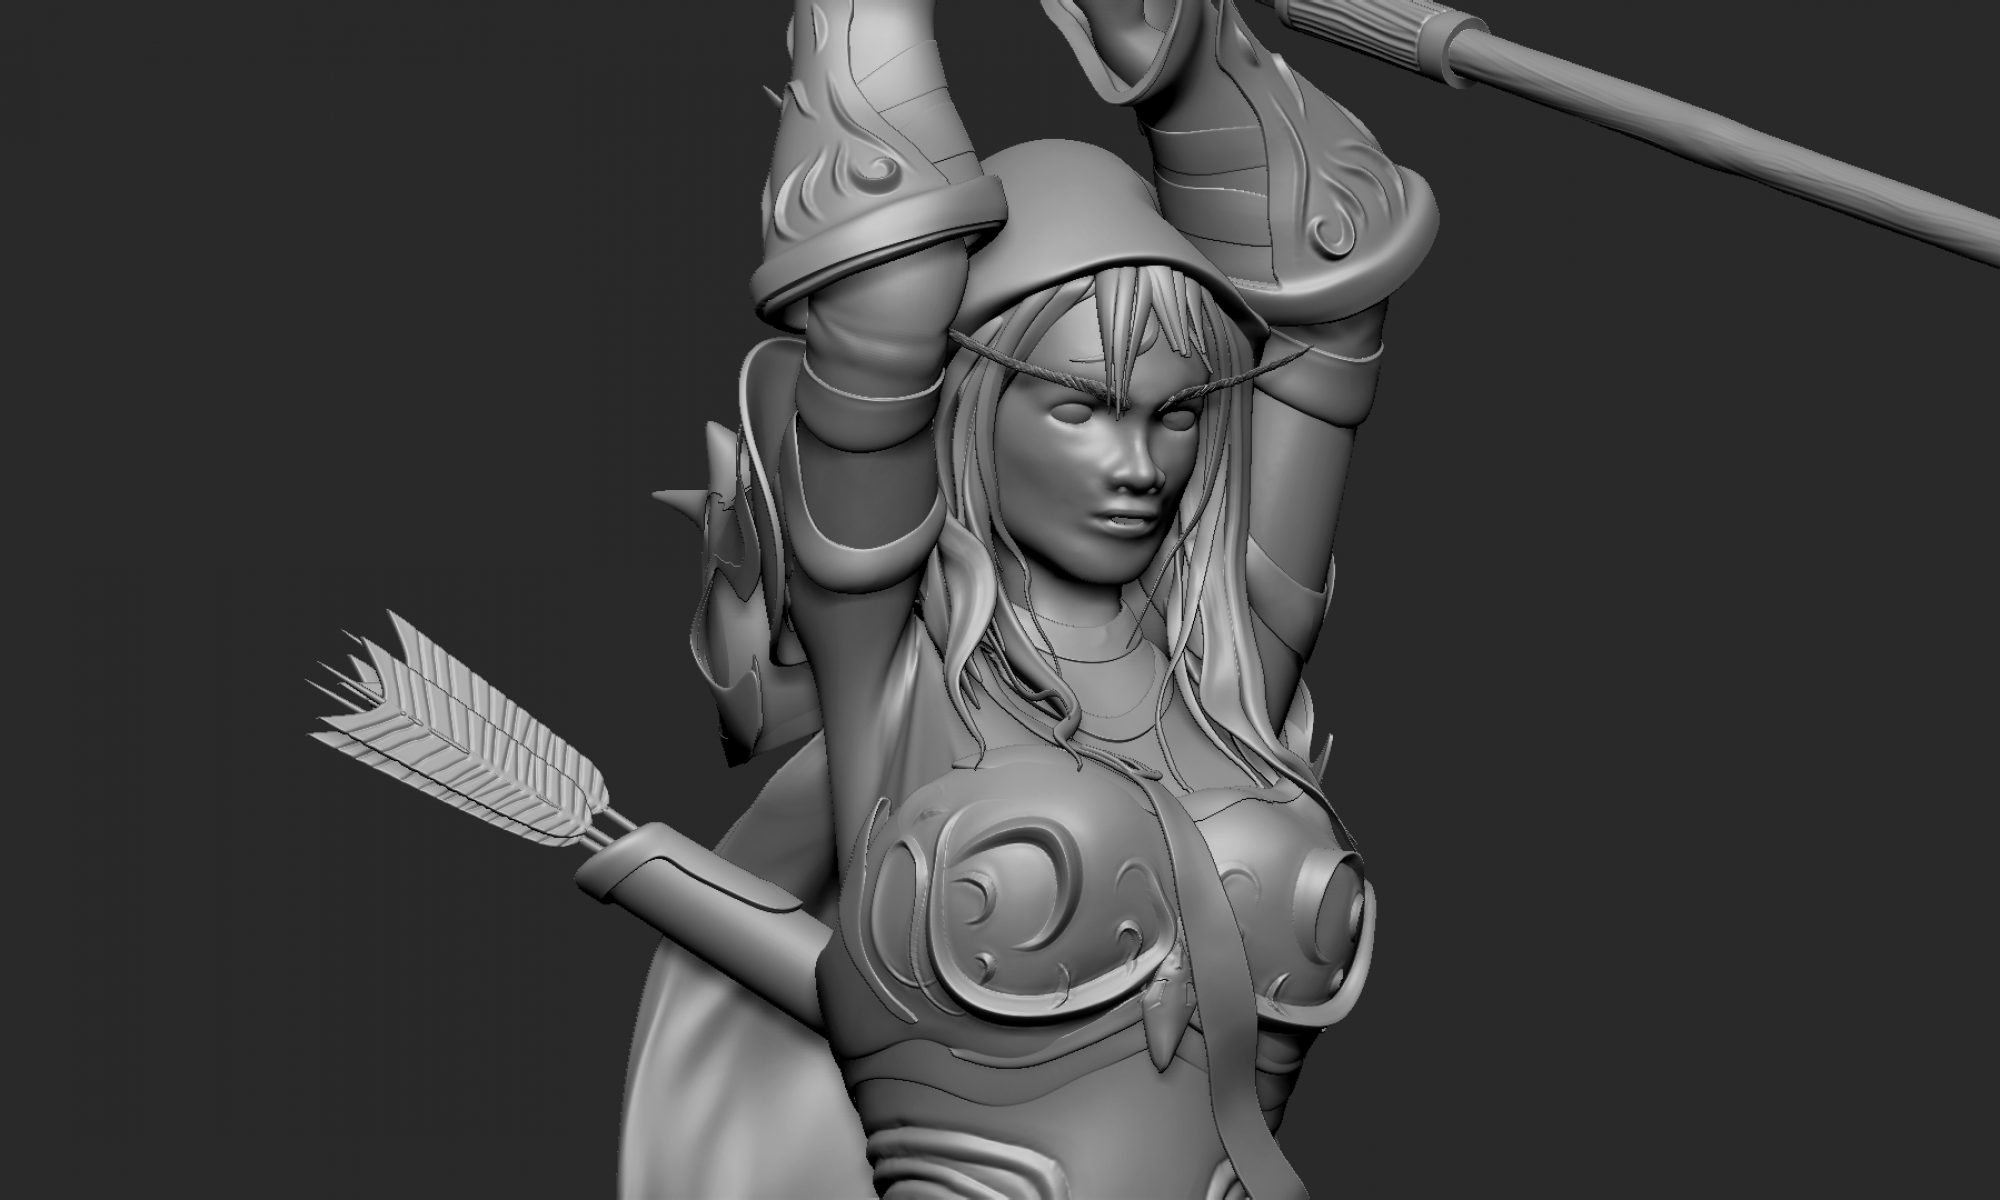
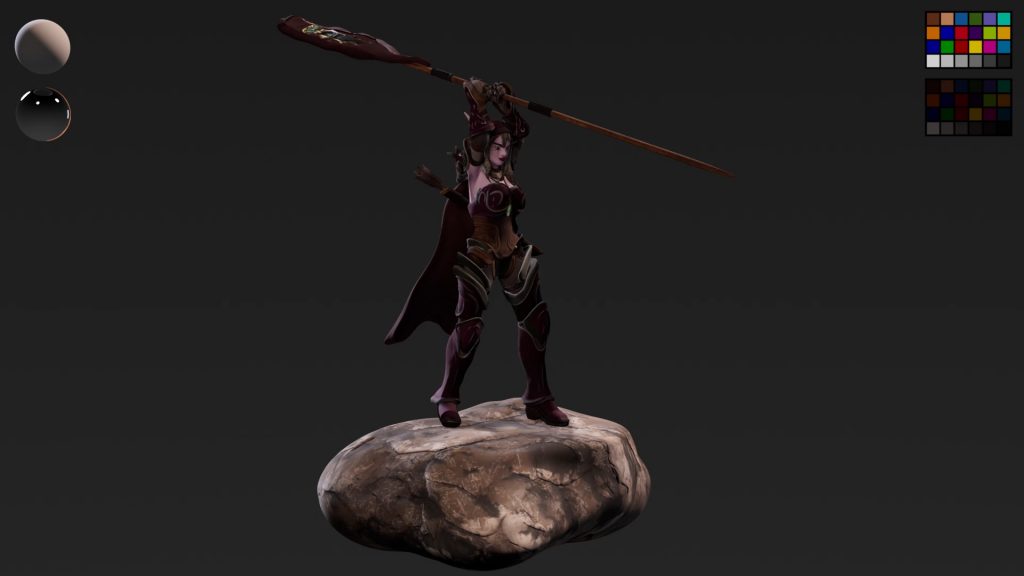
This project ended up being a two part by coincidence. Based off of the World of Warcraft character, Sylvanas Windrunner, I was able to create a fan art project while simultaneously using the project for coursework and feedback. Within the course structure at SCAD, there is a dedicated organic modelling course (ANIM 359), and a texturing in substance painter course (ANIM 369). Sylvanas started out in the modelling course. Step one was finding references and turnarounds to base the sculpt on. Sculpting was taught in both Maya and Zbrush, but I ended up going with Zbrush as I was more comfortable in it.
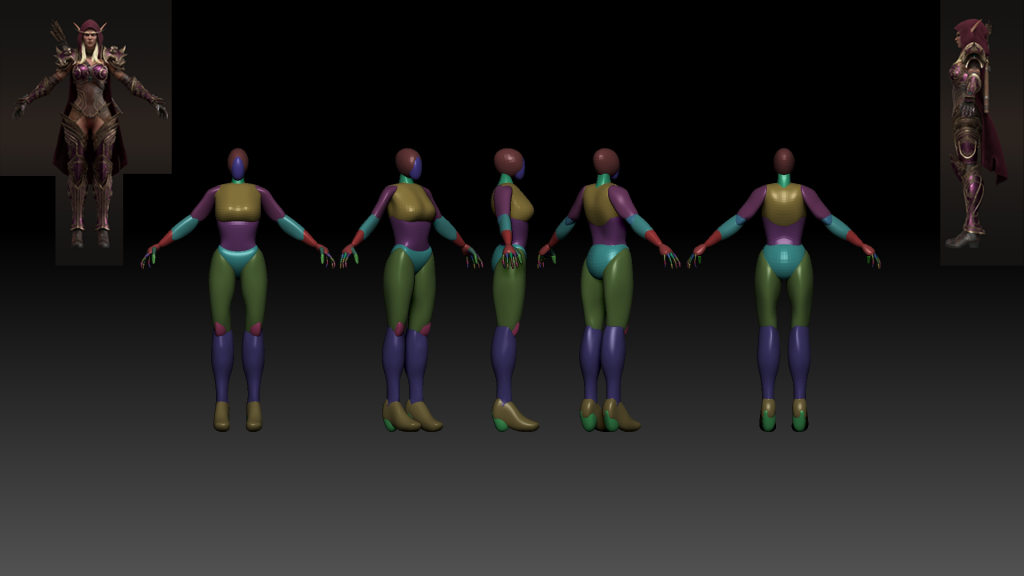
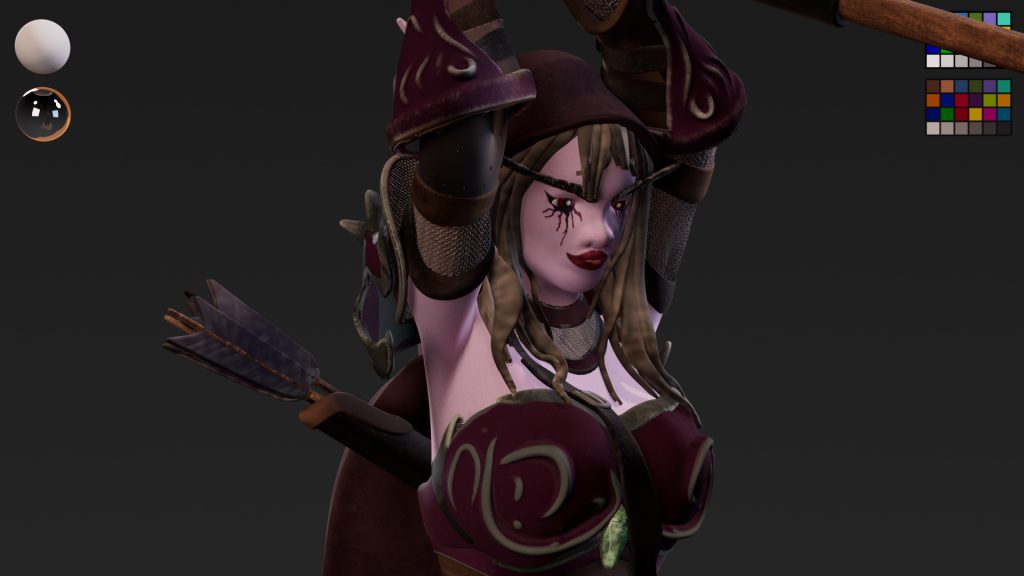
After peer and professor feedback, I was able to take the base anatomy sculpt of the model and refine it to fit closer to the features and look presented in my reference. While body shapes and armor pieces were relatively easy to sculpt, facial features was definitely where I struggled more when it came to her. Once her base organic features were created, I was able to focus more on the armor and accessories her character would need.
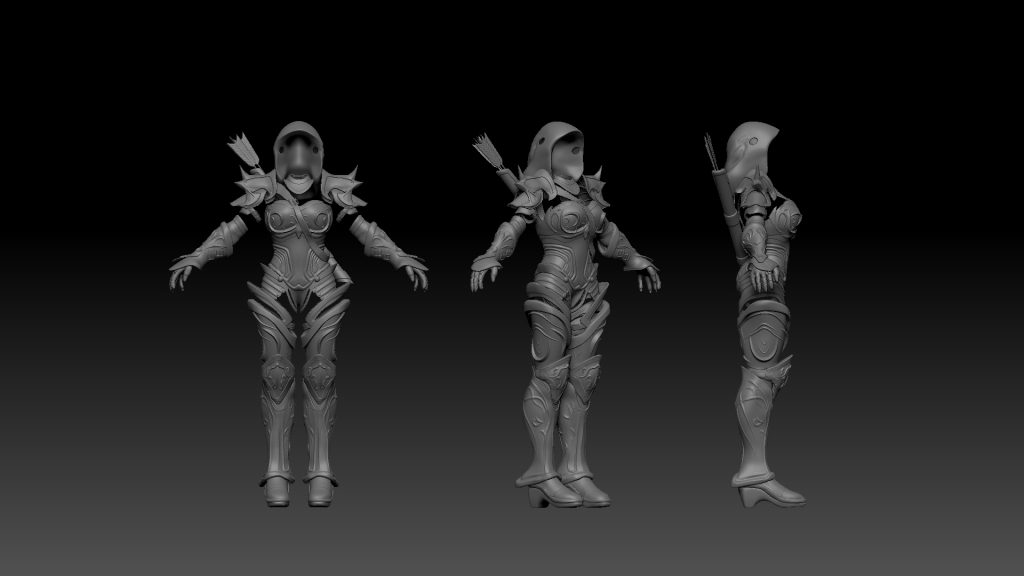
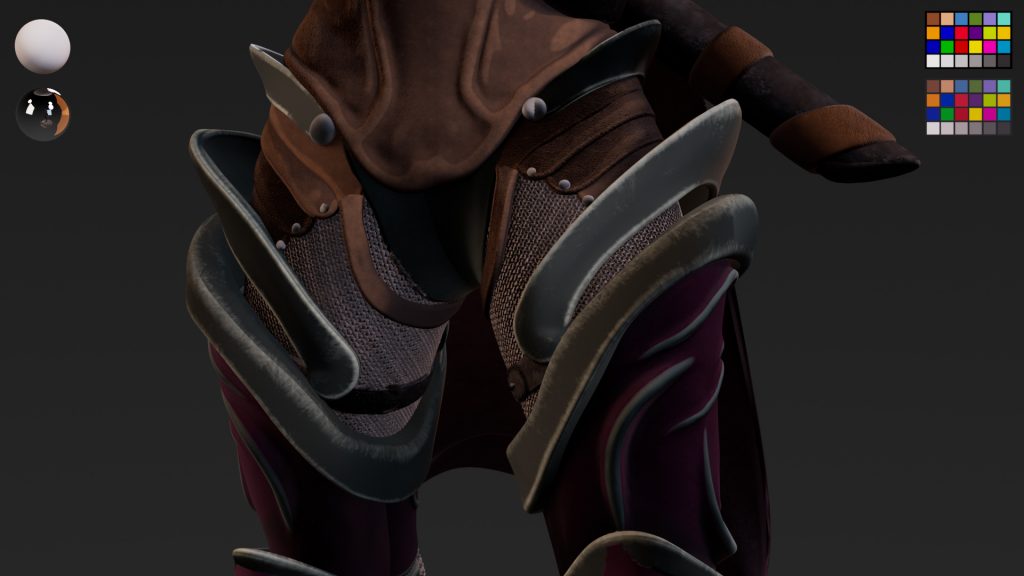
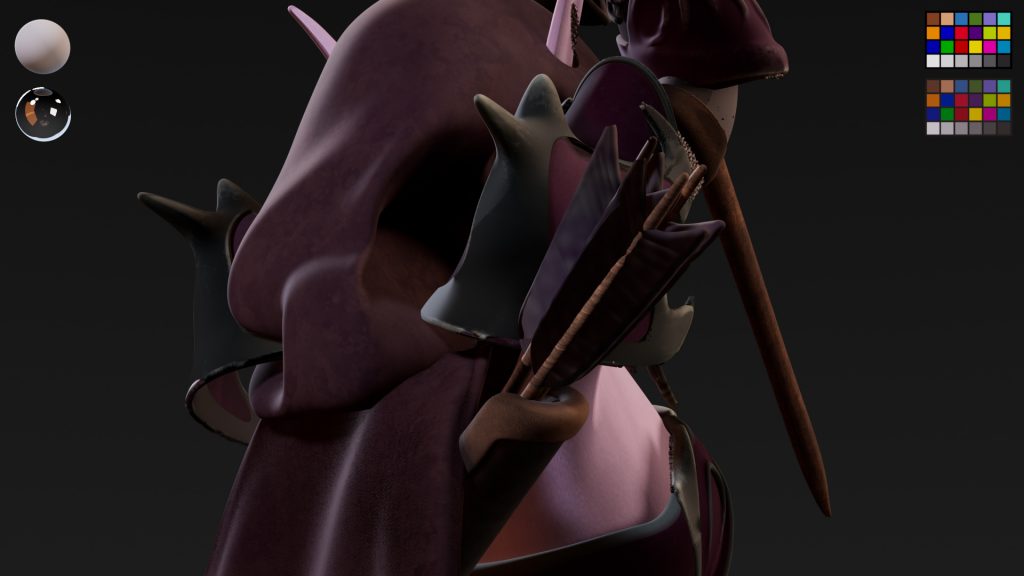
In both Zbrush courses I’ve taken, armor modelling has definitely been the highlight for them. Being able to craft intricate and unique pieces, while keeping in mind their tactile qualities, gave me enough challenge and creative freedom to create an entire armor set. The engravings on the model were hand sculpted in Zbrush on the high poly version. Once I was happy with the look, I created a low poly version and proceeded to retopologize the primary pieces in Maya.
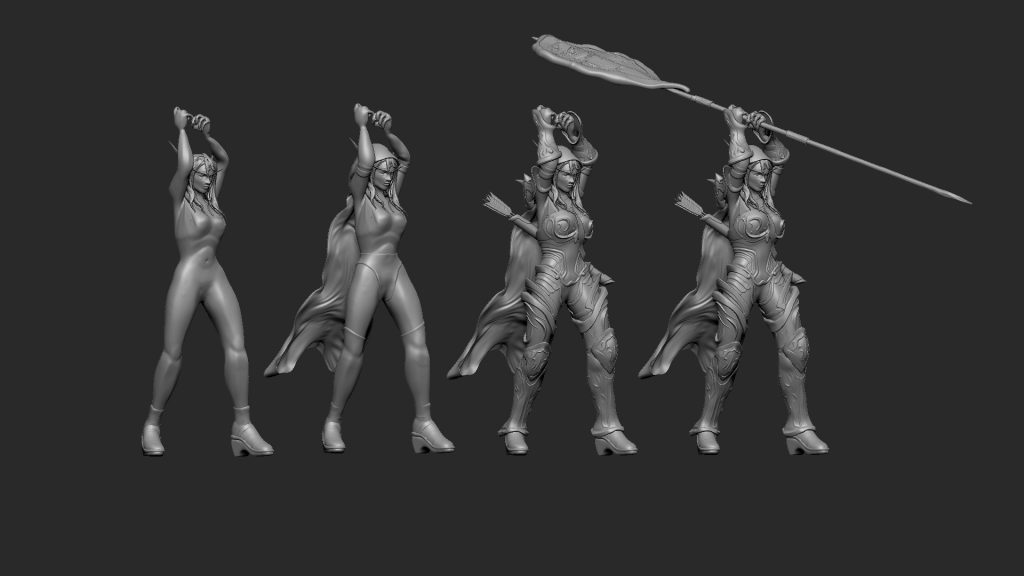
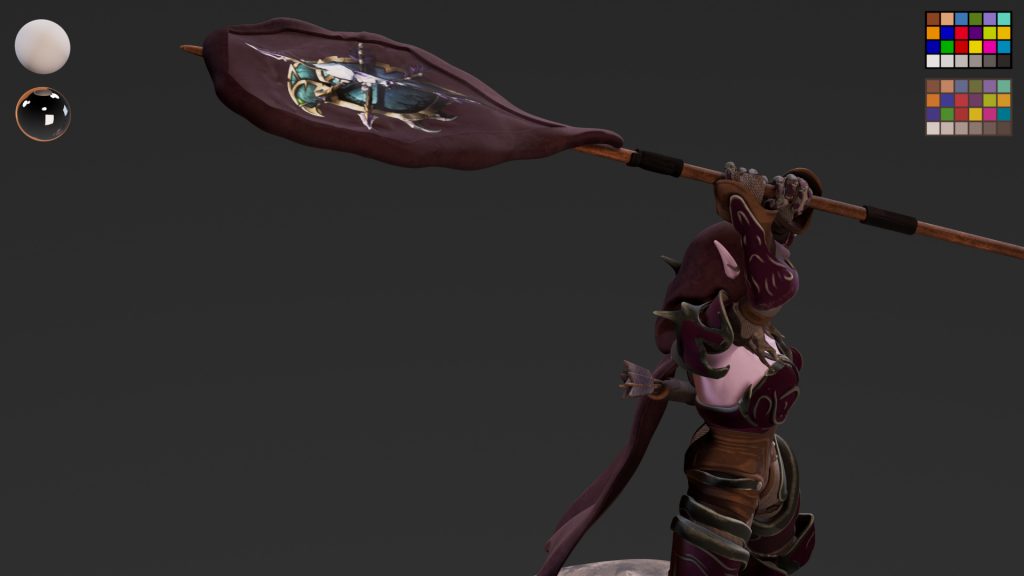
After the retopo was completed, I was able to pose her using a still from Mixamo. I then took the file back into Maya and made adjustments to the quick rig to enhance emotion and stance for the final. I then added a flag and pedestal to give more variation in the overall look.
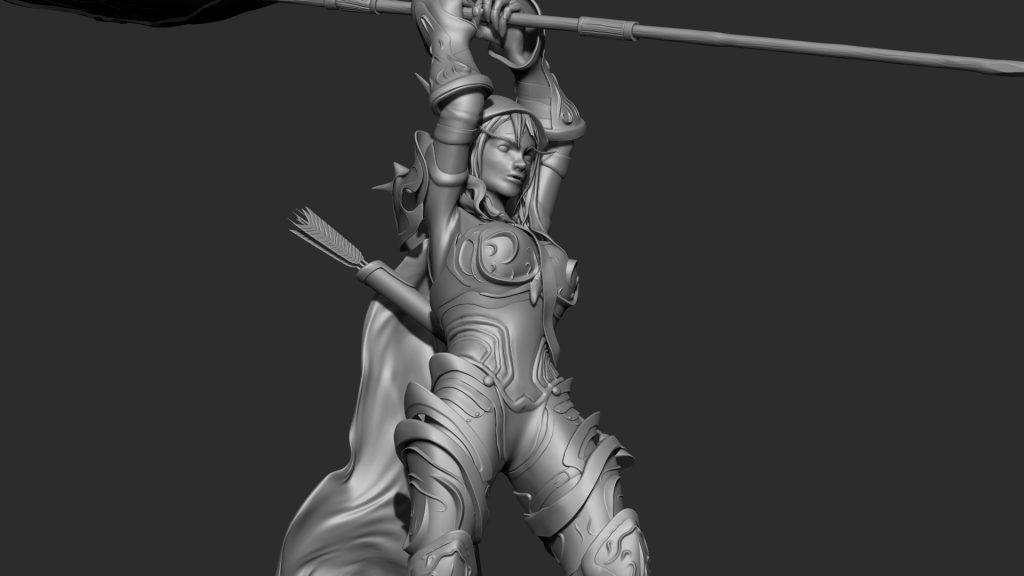
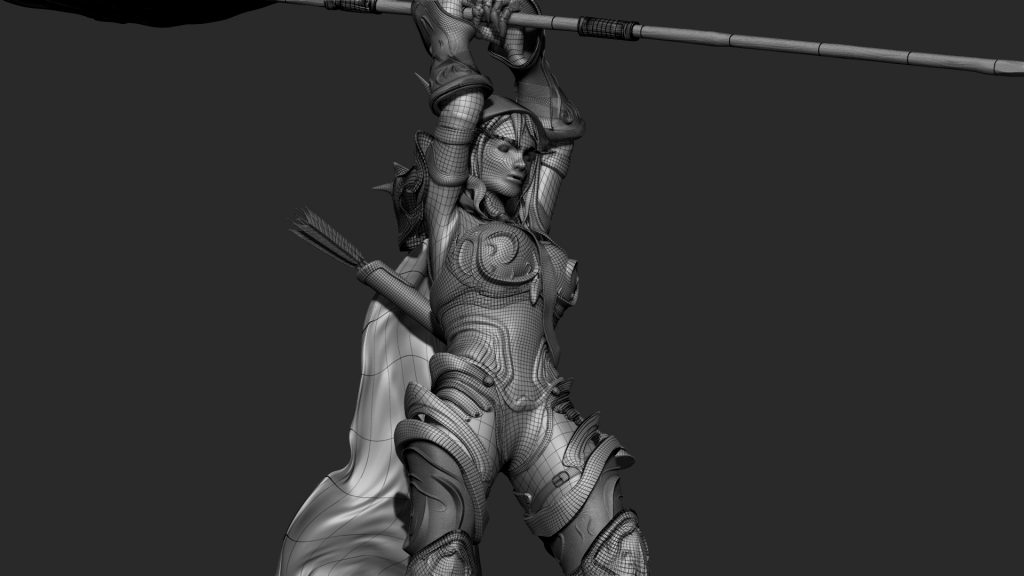
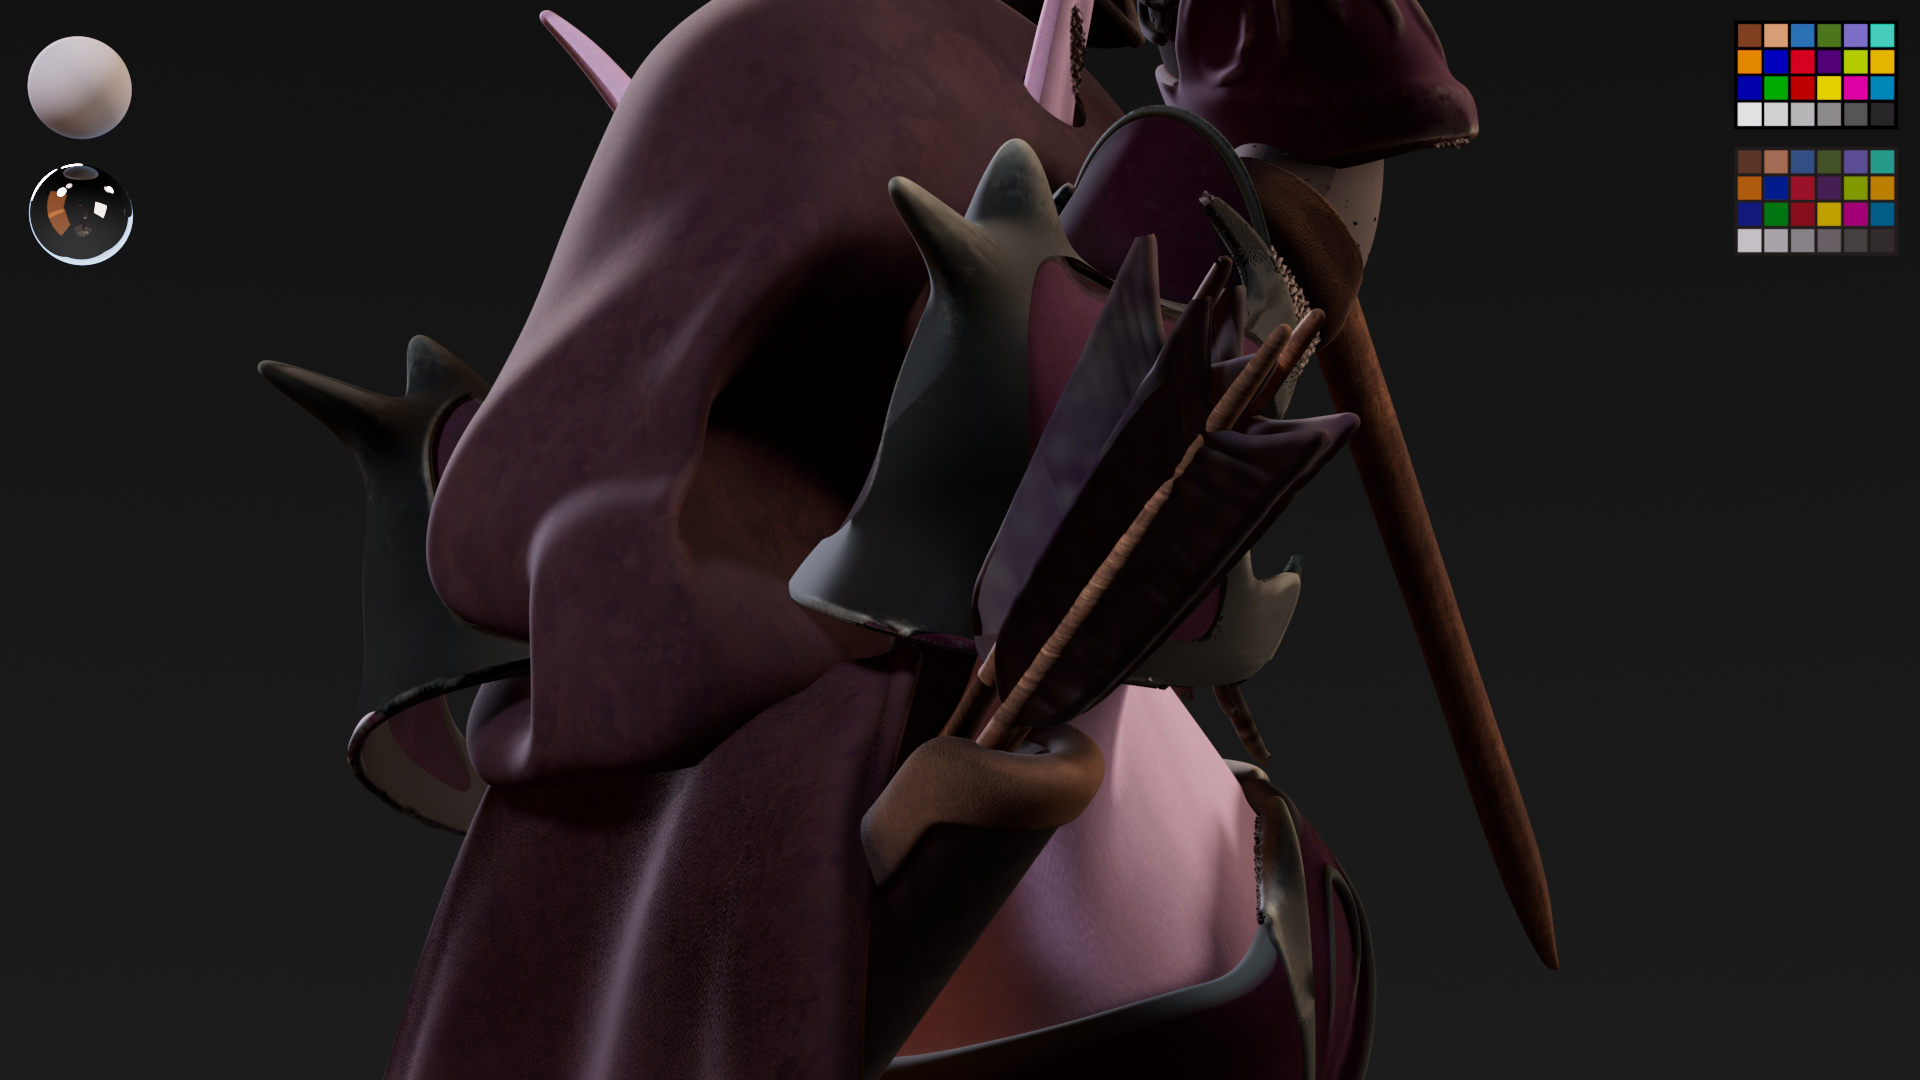
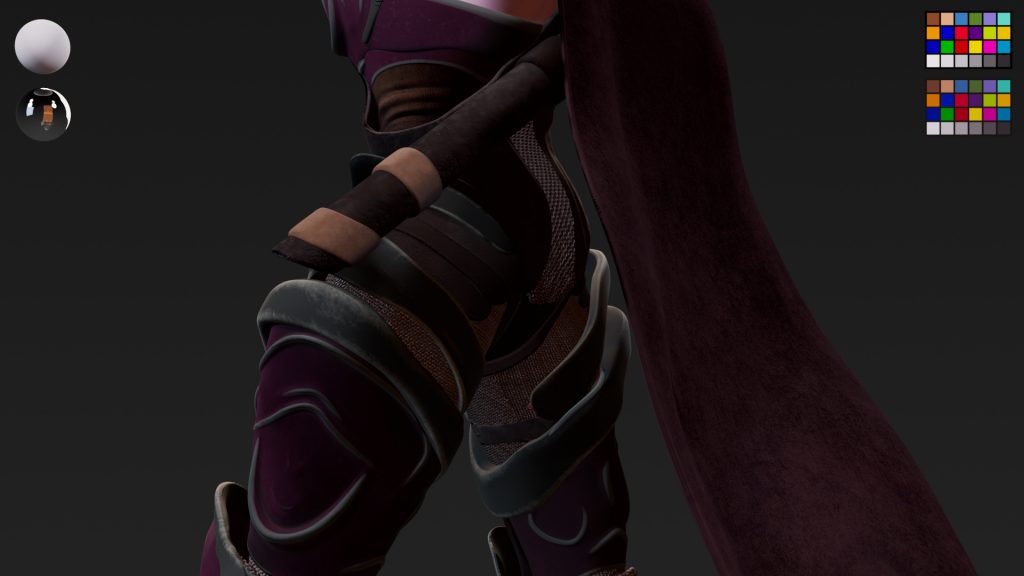
In the next course, our final project is classified as dealer’s choice. I saw it as a unique opportunity to bring back the Sylvanas sculpt and see how it would look with textures attached. I did a mixture of stylistic and realistic textures, based on her in-game and cinematic trailer look. Specifically in places like the leather armor and skin where it seemed better to trade one out for the other. Minor issues still exist due to not thinking I would end up texturing the model, but on an overall I am very happy with how it turned out and am excited to implement the fixes to make it stand out even more.
Project Lancer
Project Lancer was my first ever experience using Zbrush. While I had used Substance Painter before, it was only when I took ITGM 333 with Professor Parrish that I was able to understand it even more.
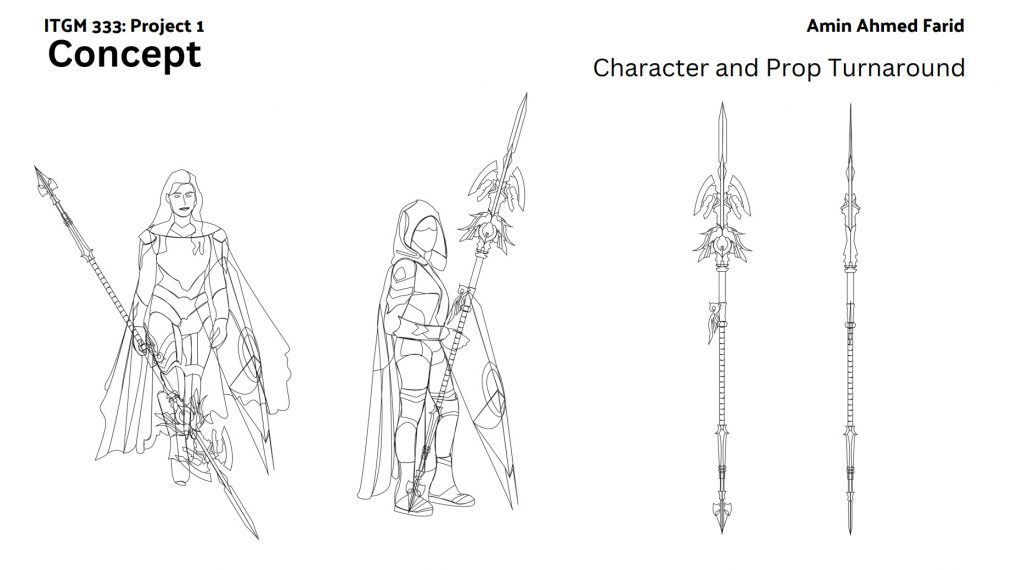
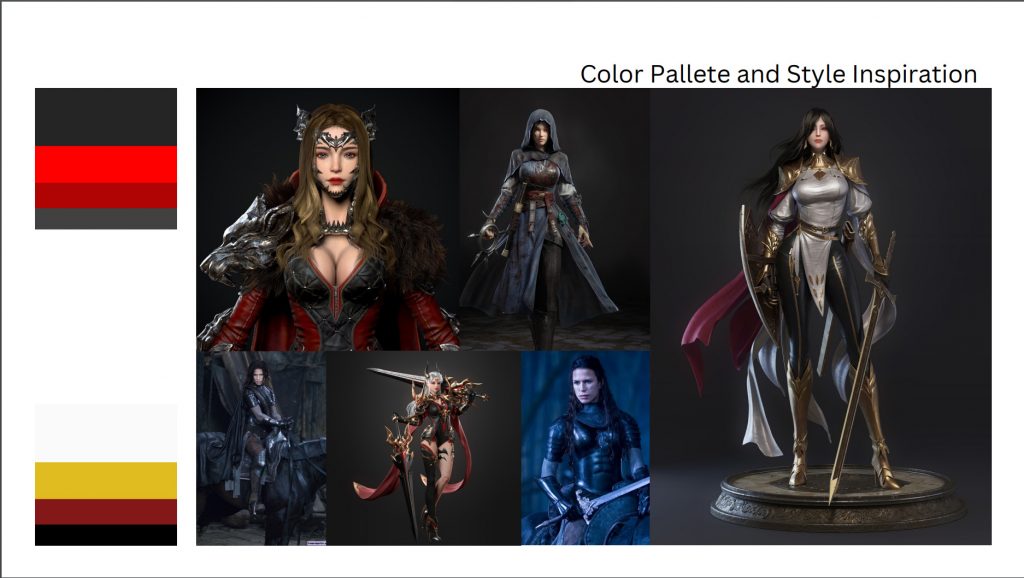
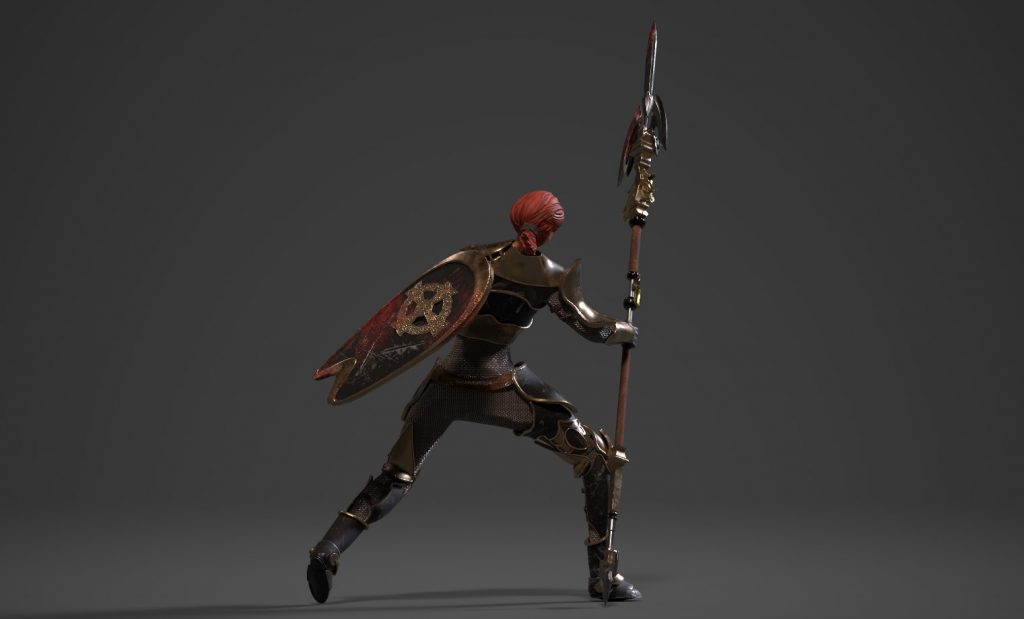
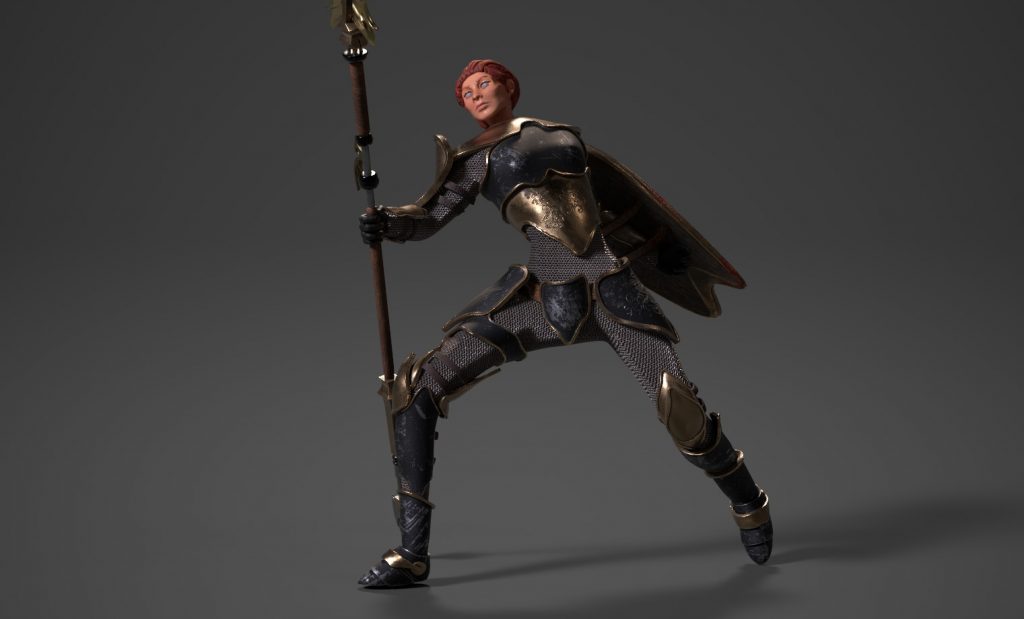
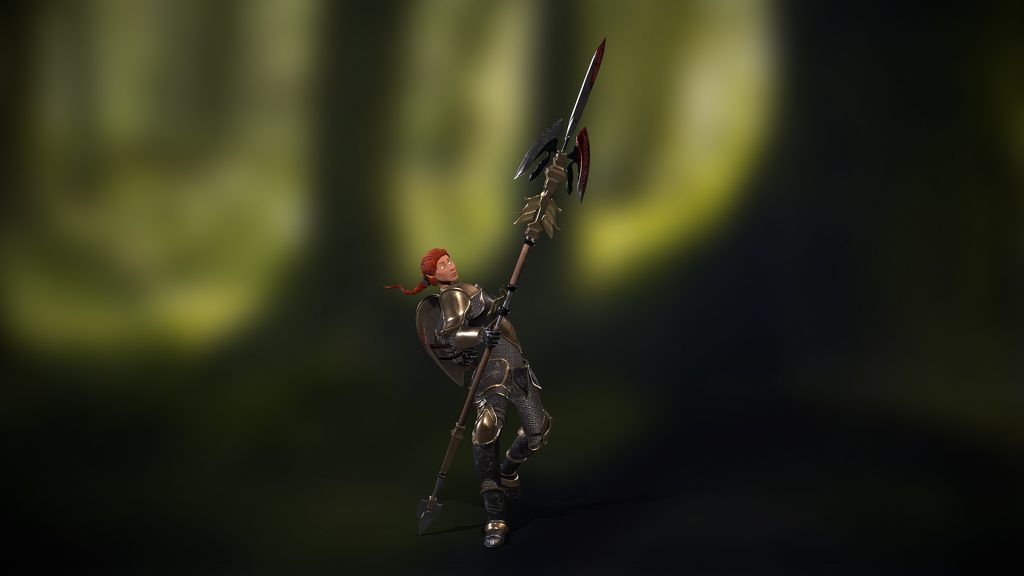
Part of the pipeline was constructing our own character and weapons concepts for our characters. The concept was going to include turnarounds, callouts, inspiration and color pallets for our character. With my interests being deeply rooted in military and fantasy based works, I went with a royal / elite detachment human lancer.
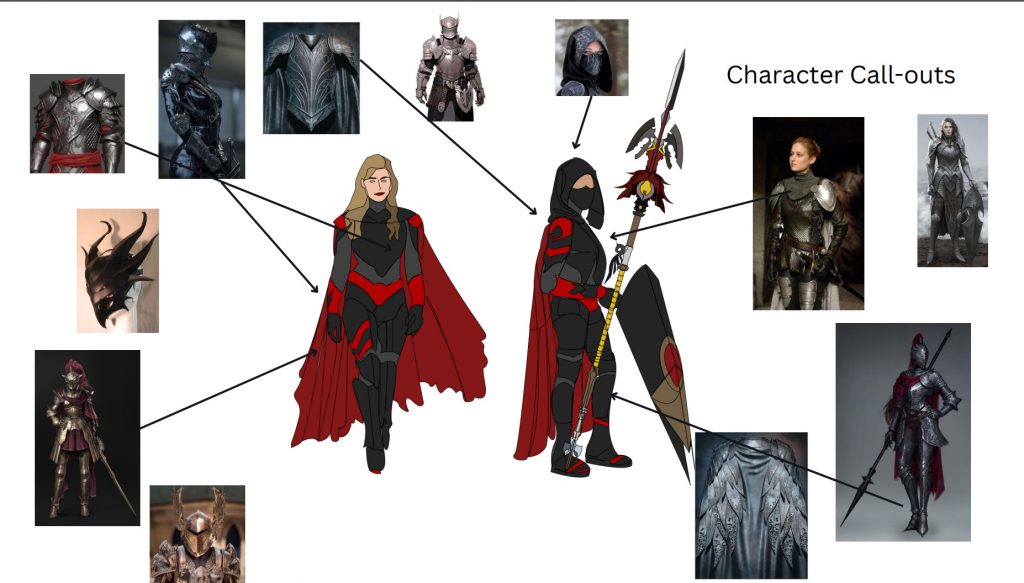
Once I had the character set up and the call outs sorted I started to experiment with the style and colors I wanted for the armor. Would I want something more flashy, or subtle. Did I want to go for a more realistic style, or maybe something more set in 3D anime-esque designs.
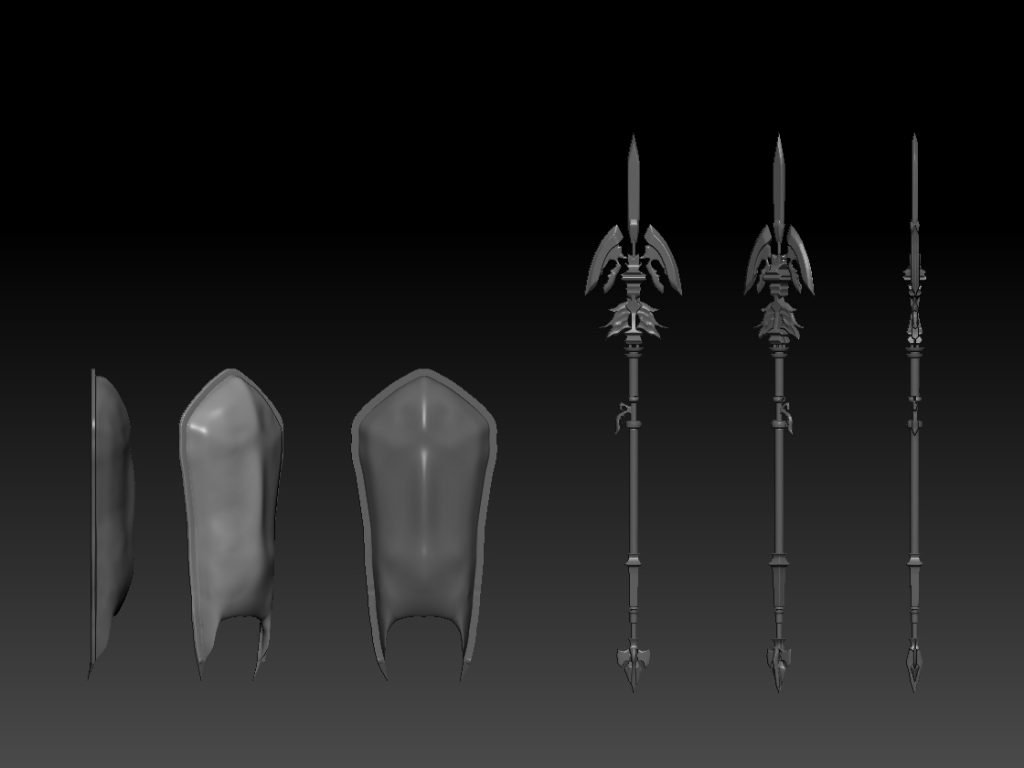
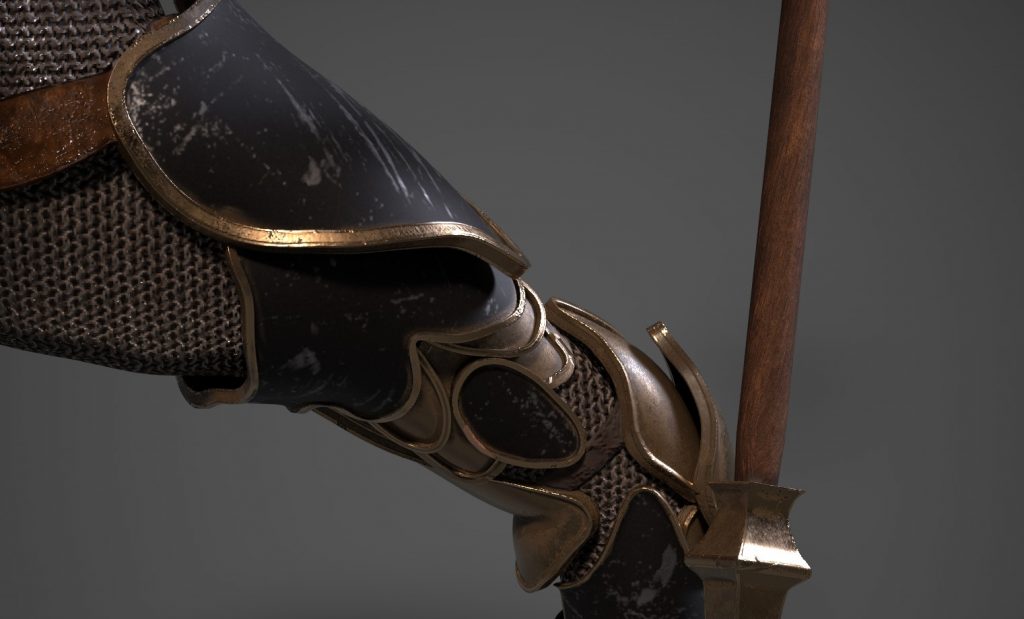
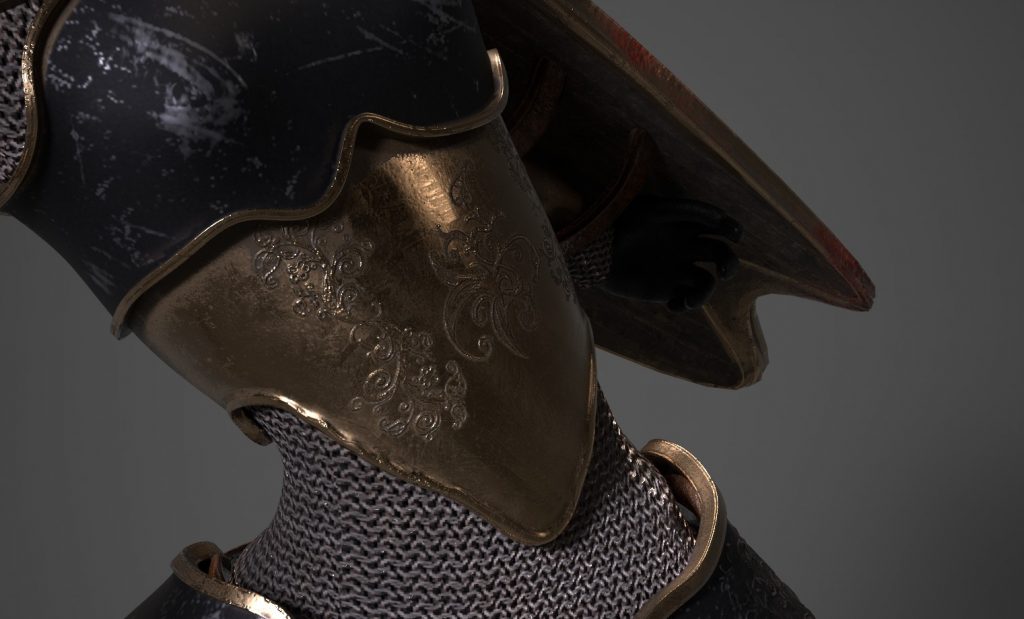
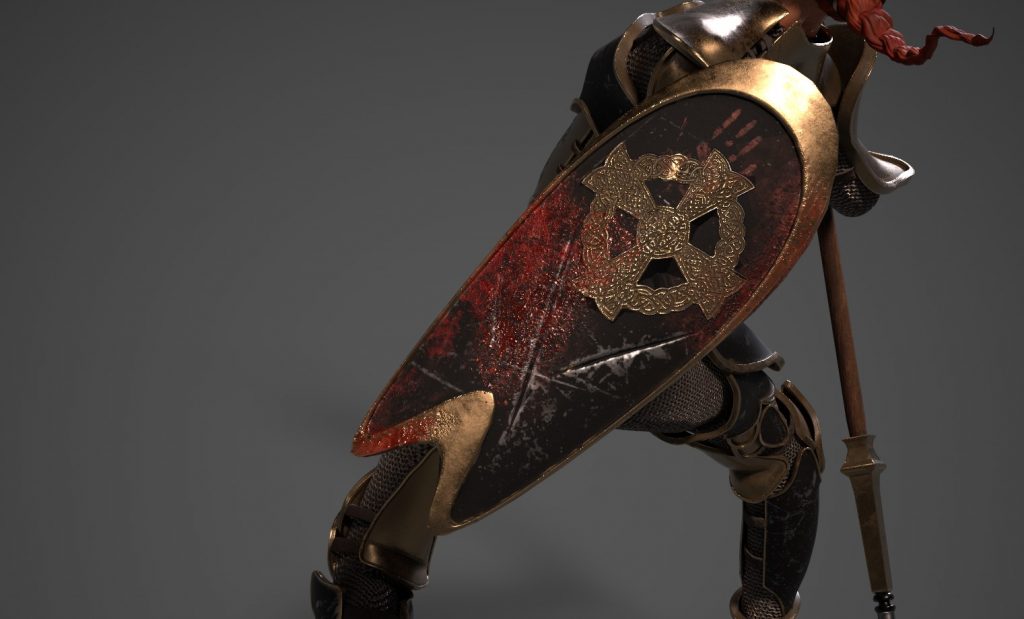
While working on the anatomy of the body and retopologizing higher poly assets like the chest armor, I was working on created the weapons for the lancer as well. Since it was a royal guard/ elite detachment I felt something functional, yet ornate at the same time would be the best way to approach this. The designs were inspired from various concept pieces and then mixed together to create the best outcome. I create some parts of the weapon in Maya, and the rest in Zbrush, polishing it up along the way.
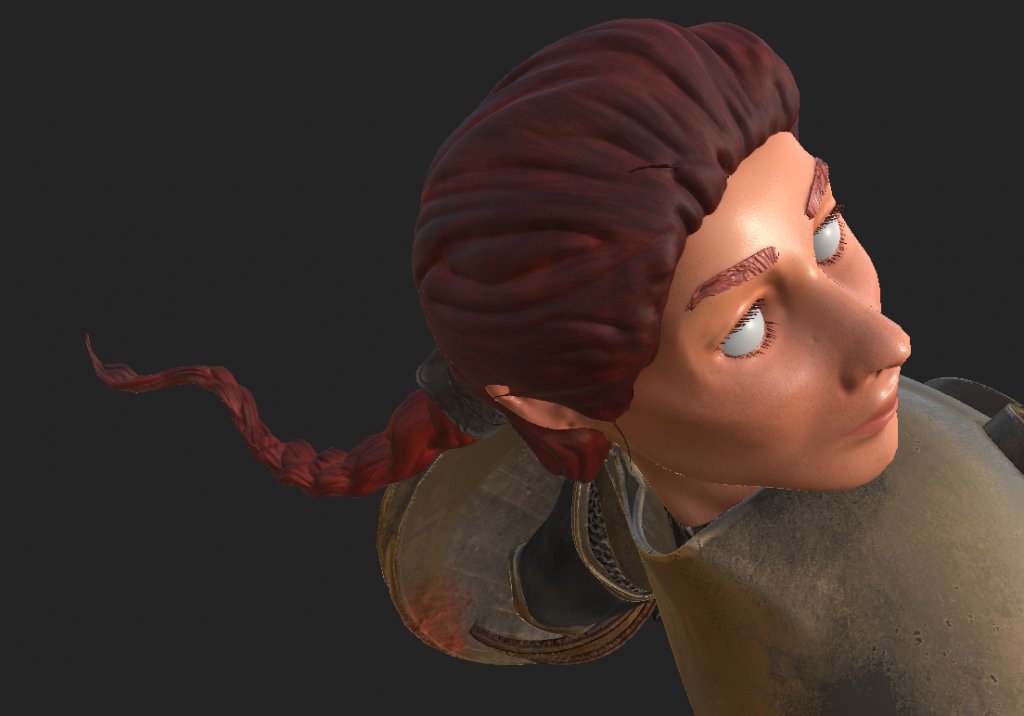
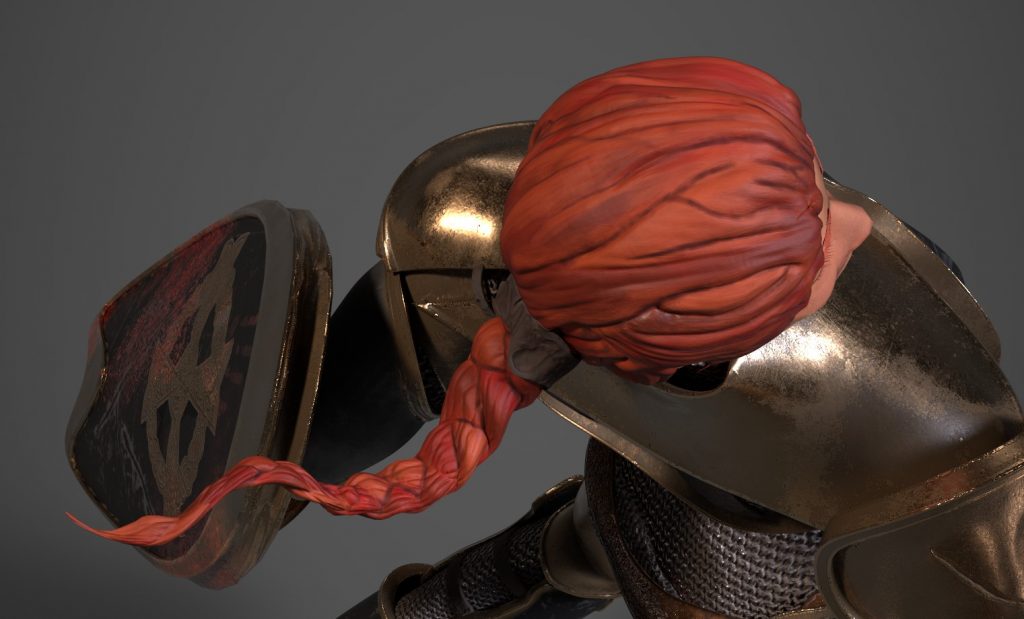
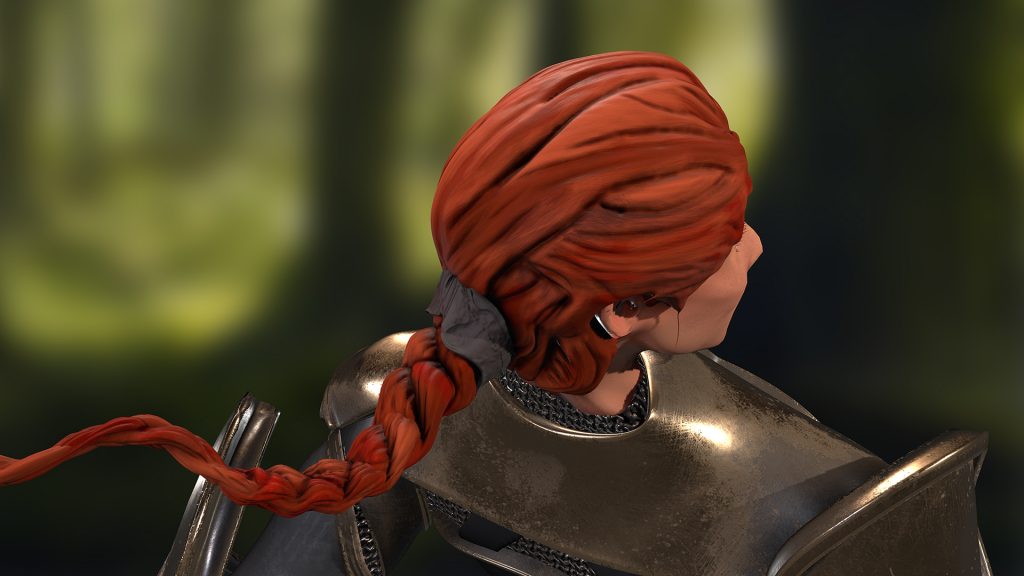
Her hair was one of the most toughest aspects of getting it right. I wanted to create color variation to ensure depth, but I also had to hold back layers them over as it would sometimes blend into a muddy mix. I spent two weeks going back and forth over it with Professor Baker in order to really achieve the best look we could for the hair. These are some work in progress shots of the hair. I was very happy with the final outcome. I also learnt to make sure I separate the hair into clumps next time instead of sculpting it altogether (I got a little carried away I know).
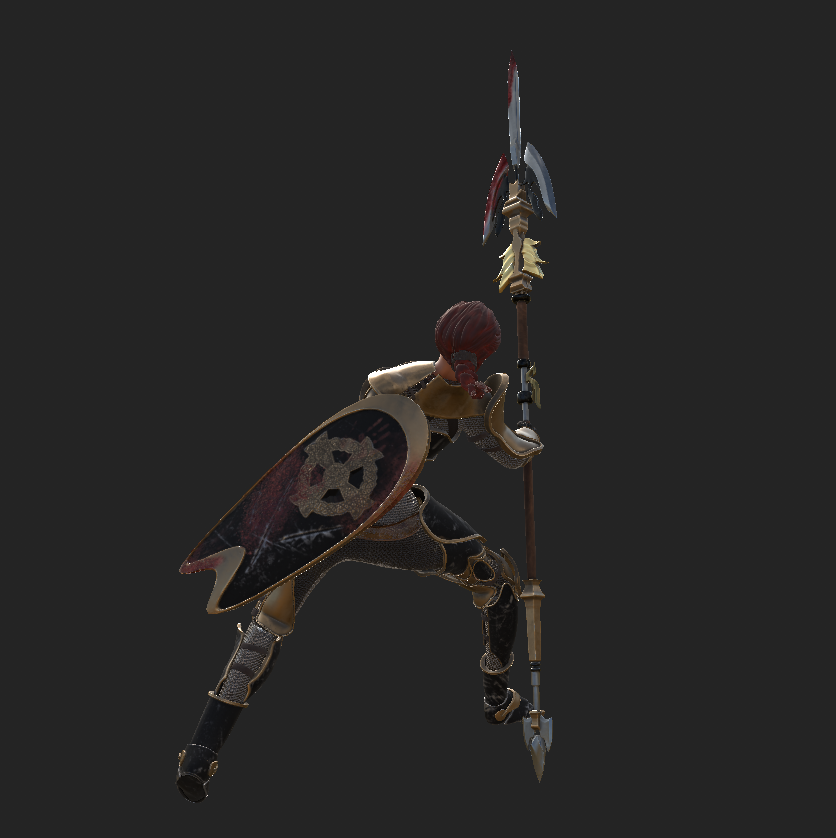
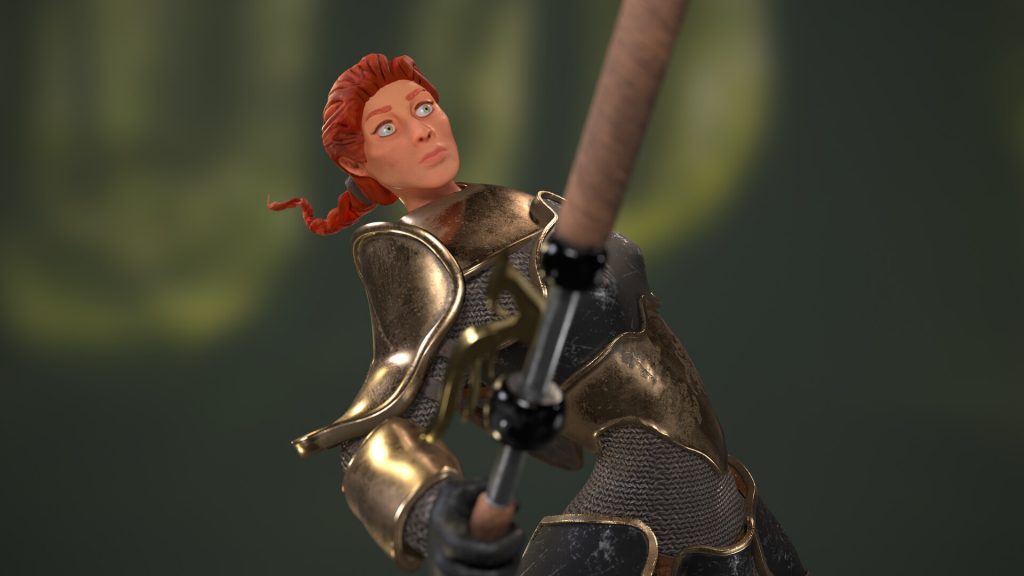
Here are the final rendered shots. Once I was happy with the hair I went back to focus on the skin, making sure the roughness and texture worked well with the subsurface scattering in order to bring it closer to the realistic look. Even though the overall model is still stylized I wanted to see how much I could experiment with the skin. I then created a blurred background to help the character stand out. I added a little depth of field on the camera and rendered in Marmoset Toolbag 4.
Thanks for following along on my journey with Project Lancer!
